NancyFx框架检测任务管理器详解
更新时间:2020年6月25日 11:18 点击:1522
本文为大家分享了NancyFx框架检测任务管理器的具体方法,供大家参考,具体内容如下
先建一个空的项目和之前的NancyFx系列一样的步骤

然后建三个文件夹Models,Module,Views
然后分别安装一下组件
jQuery
Microsoft.AspNet.SignalR
Microsoft.Owin
Nancy
Nancy.Owin
然后往Model类里面添加CPUHub类,Broadcaster类
CPUHub类
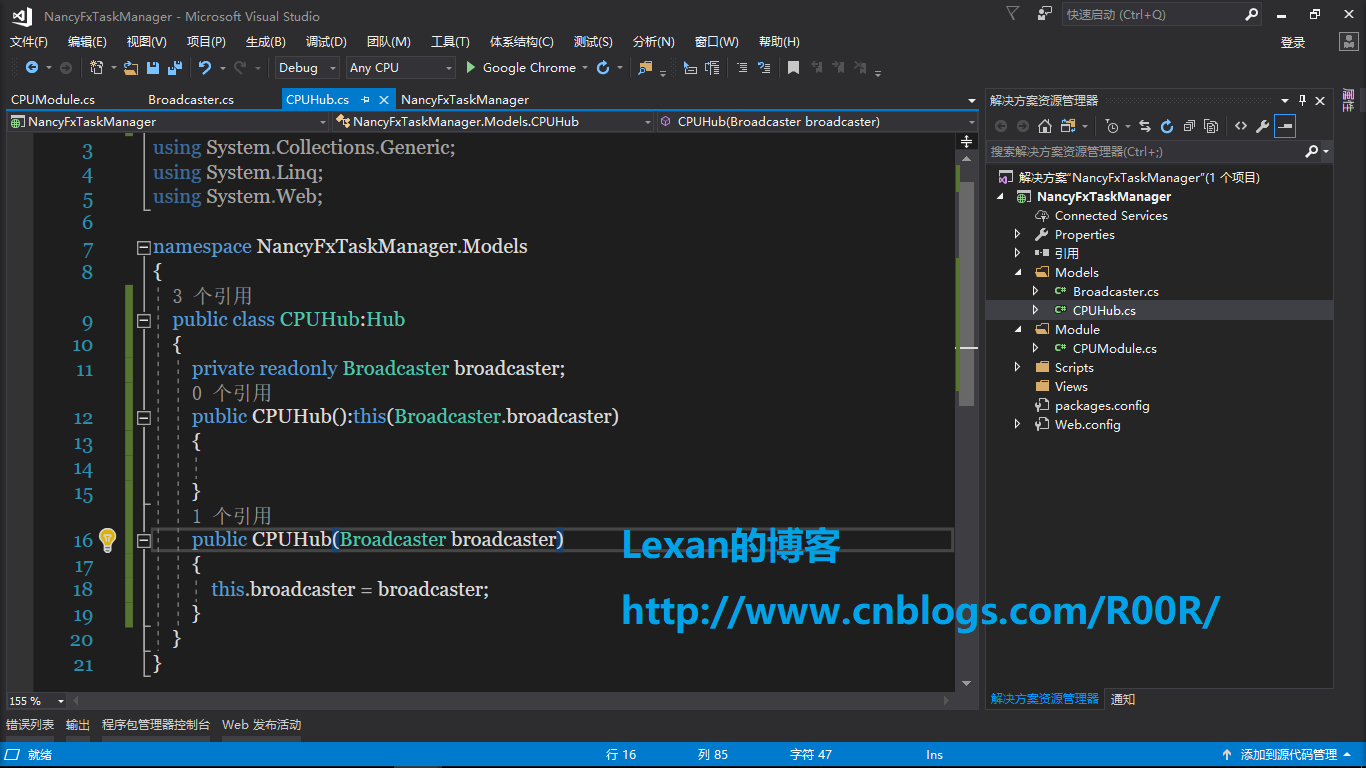
public class CPUHub:Hub
  {
    private readonly Broadcaster broadcaster;
    public CPUHub():this(Broadcaster.broadcaster)
    {

    }
    public CPUHub(Broadcaster broadcaster)
    {
      this.broadcaster = broadcaster;
    }
  }
Broadcaster类

public class Broadcaster
  {
    private readonly static Lazy<Broadcaster> lazy = new Lazy<Broadcaster>(()=>new Broadcaster(GlobalHost.ConnectionManager.GetHubContext<CPUHub>().Clients));

    private readonly TimeSpan timeSpan = TimeSpan.FromMilliseconds(1000);
    private readonly Timer timer;
    public static Broadcaster broadcaster
    {
      get { return lazy.Value; }
    }
    private IHubConnectionContext hubConnectionContext
    {
      get;
      set;
    }
    private Broadcaster(IHubConnectionContext hubConnectionContexts)
    {
      hubConnectionContext = hubConnectionContexts;
      timer = new Timer(BroadcastCpuUsage,null,timeSpan,timeSpan);
    }
    private void BroadcastCpuUsage(object o)
    {
      string cpu = GetCurrentCpu();

    }
    private string GetCurrentCpu()
    {
      string currentCpu = "";
      HttpClient httpClient = new HttpClient();
      httpClient.BaseAddress = new Uri("http://localhost:3039");
      var response = httpClient.GetAsync("api/cpu").Result;
      if (response.IsSuccessStatusCode)
      {
        currentCpu = response.Content.ReadAsStringAsync().Result;
      }
      return currentCpu;
    }
  }
然后在往Module里面添加CPUModule类
public class CPUModule:NancyModule
  {
    PerformanceCounter performanceCounter;
    public CPUModule():base("api/cpu")
    {
      InitializePerformanceCounter();
      Get("/",Lexan=>
      {
        int cpu = (int)Math.Ceiling(performanceCounter.NextValue());
        return Response.AsText(cpu.ToString());
      });
    }
    private void InitializePerformanceCounter()
    {
      performanceCounter = new PerformanceCounter();
      performanceCounter.CategoryName = "";
      performanceCounter.CounterName = "";
      performanceCounter.InstanceName = "";
      performanceCounter.NextValue();
      Thread.Sleep(1000);
    }
  }

然后添加index.html页面在根目录下
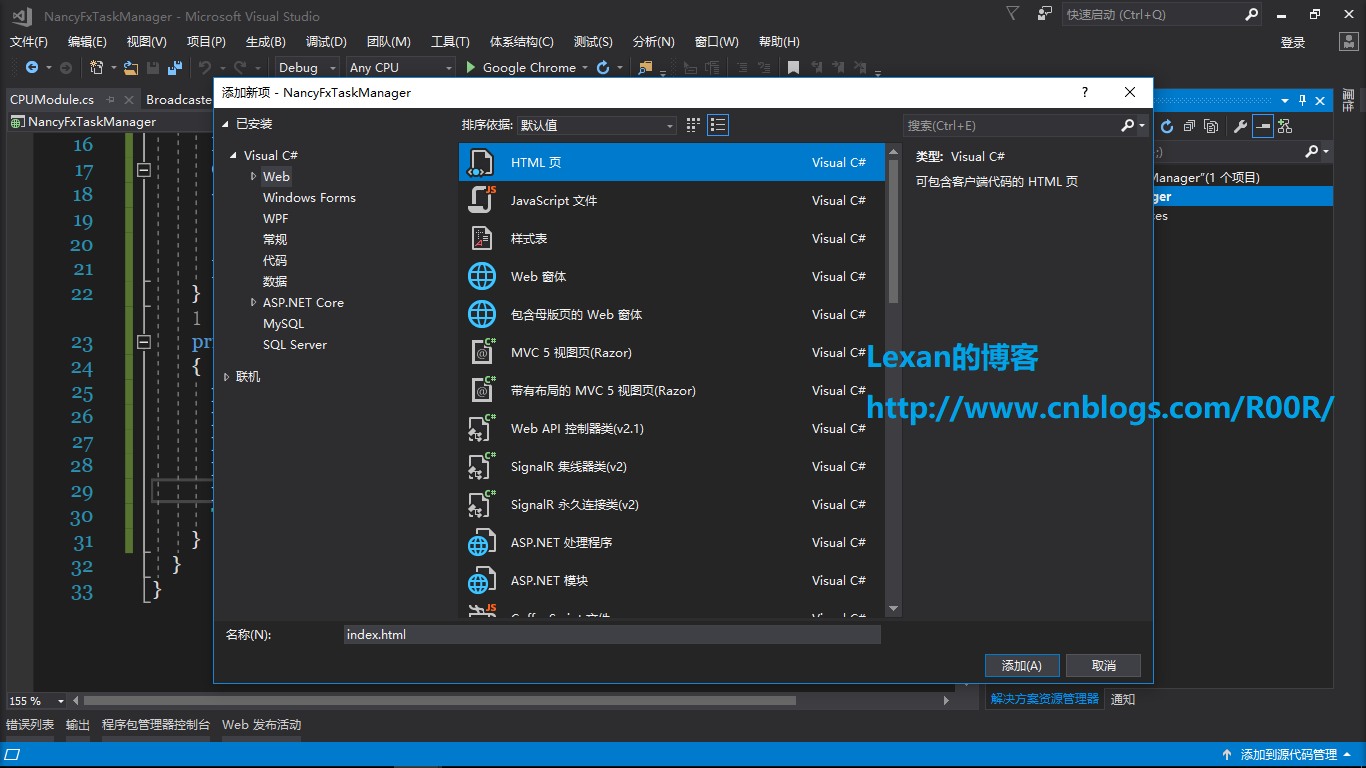
<!DOCTYPE html>
<html>
<head>
  <title>NancyTaskManager</title>
</head>
<body>
  <label id="lblVal"></label>
  <br />
  <canvas id="cvPercentage"></canvas>
  <br />
  <br />
  <canvas id="cvGraph" height="450" width="600"></canvas>
  <script src="Scripts/jquery-2.1.0.js"></script>
  <script src="Scripts/jquery.signalR-2.0.2.js"></script>
  <script src="Scripts/Chart.js"></script>
  <script src="/signalr/hubs"></script>
  <script src="Scripts/taskManager.js"></script>
</body>
</html>
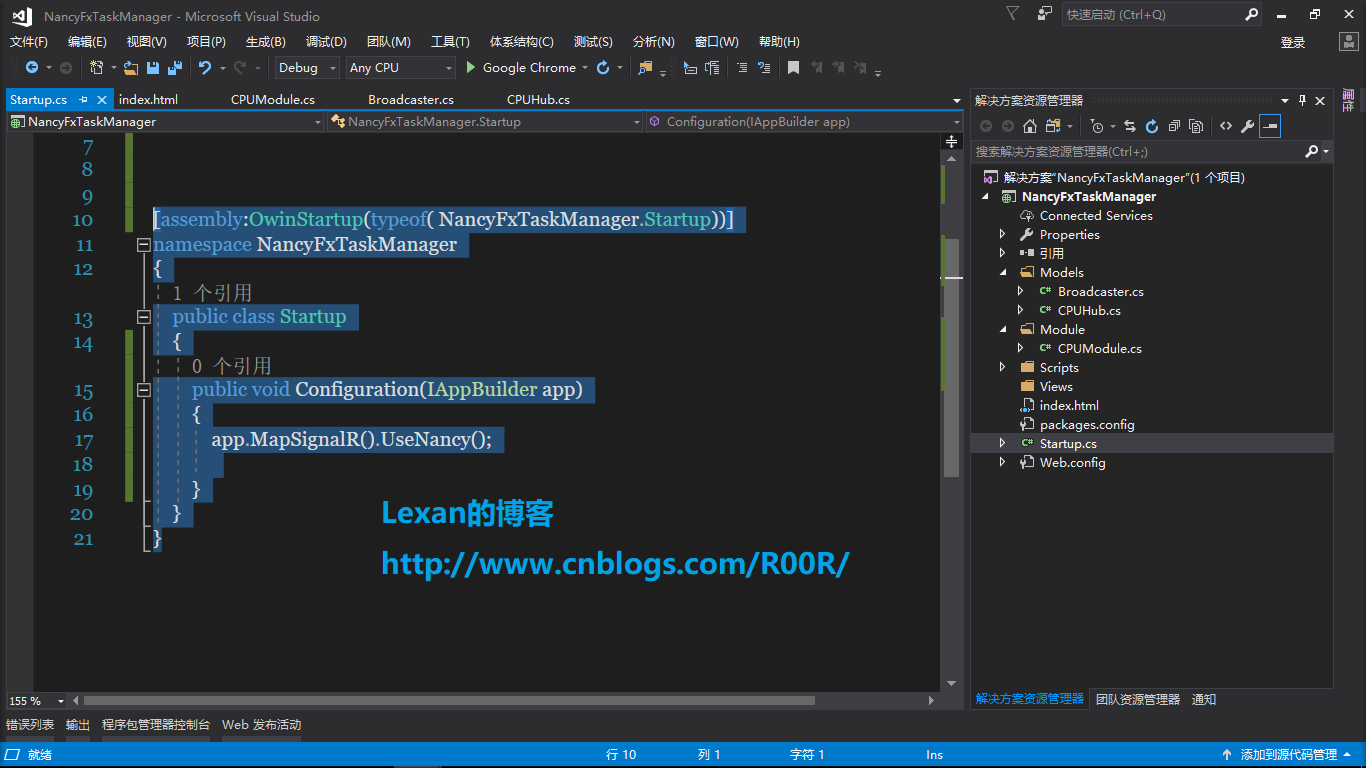
继续往根目录里面添加Startup类
[assembly:OwinStartup(typeof( NancyFxTaskManager.Startup))]
namespace NancyFxTaskManager
{
  public class Startup
  {
    public void Configuration(IAppBuilder app)
    {
      app.MapSignalR().UseNancy();

    }
  }
}
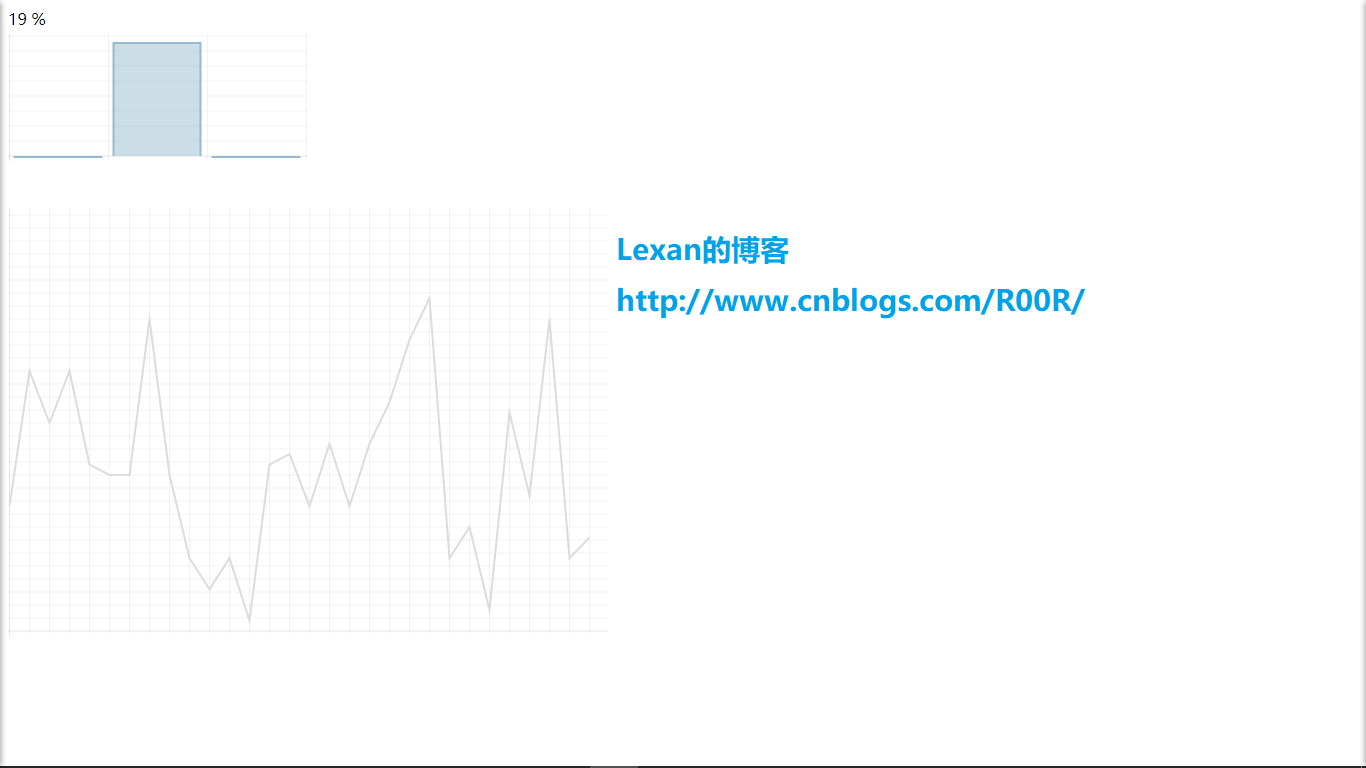
好了我们准备就绪,看看运行效果
以上就是本文的全部内容,希望对大家的学习有所帮助,也希望大家多多支持猪先飞。
上一篇: C#微信分享代码
下一篇: 利用C#实现最基本的小说爬虫示例代码
相关文章
- 这篇文章主要介绍了c#中禁用windows的任务管理器的方法,通过注册表实现禁用,需要的朋友可以参考下...2020-06-25
- 本篇文章是对在C#任务管理器中应用程序选项隐藏程序本身的方法进行了详细的分析介绍,需要的朋友参考下...2020-06-25
- 这篇文章主要为大家详细介绍了NancyFx框架检测任务管理器的相关资料,具有一定的参考价值,感兴趣的小伙伴们可以参考一下...2020-06-25