使用Xcache缓存器加速PHP网站的配置方法
推荐地址:http://www.ibm.com/developerworks/cn/opensource/os-php-fastapps1/
由于国内网站备案比较麻烦,所以笔者便把网站放到了香港。虽然网站免去了备案的困扰,但是从访问速度上来看,一般要比放于国内的网站慢2-3倍,所以便想办法对网站做了一些简单的优化,比如使用缓存系统来提升网站页面访问速度。
目前用于Web的缓存系统很多,包括squid、varnish、Nginx自带的proxy_cache、FastCGI中的fastcgi_cache、APC、Xcache等。
像squid、varnish、Nginx自带的proxy_cache这类系统,属于重量级产品,配置维护比较麻烦,不适合小型网站,而且一般用这类系统缓存静态内容,比如图片、css、JavaScript等;像FastCGI中的fastcgi_cache,它主要用于缓存动态内容,所以在访问使用fastcgi_cache的网站时速度极快,但是笔者使用时发现其维护比较麻烦,特别是每次网站有数据要更新后,如果不等到缓冲期过期后得需要手动清除缓存才能看到网站更新的内容;至于APC个人感觉性能就一般了,拿它和Xcache比较时发现访问使用Xcache网站的速度明显高于使用APC网站的速度(笔者没有具体测试),所以最终选择了使用Xcache。
我们都知道PHP是一种动态语言,它在执行时是以解释的方式执行,所以PHP代码每次执行时都会被解析和转换成操作码(opcode)。而Xcache是一个开源的操作码缓存器/优化器,它通过把解析/转换PHP后的操作码缓存到文件(直到原始代码被修改)从而避免重复的解析过程,提高了代码的执行速度,通常能够提高页面生成速率2-5倍,降低了服务器负载,提高了用户访问网站的速度。
一、安装Xcache
# wget http://xcache.lighttpd.net/pub/Releases/1.3.0/xcache-1.3.0.tar.gz
# tar zxvf xcache-1.3.0.tar.gz
# cd xcache-1.3.0
# /usr/local/php/bin/phpize
# ./configure --enable-xcache--enable-xcache-coverager --enable-xcache-optimizer--with-php-config=/usr/local/php/bin/php-config
# make && make install
注:--enable-xcache表示启用Xcache支持;--enable-xcache-coverager表示包含用于测量加速器功效的附加特性;--enable-xcache-optimizer表示启用操作码优化
安装完毕后系统会提示xcache.so模块生成路径,本次生成路径为/usr/local/php/lib/php/extensions/no-debug-non-zts-20060613/,然后把xcache.so移动到/usr/local/php/include/php/ext目录下。
二、配置管理Xcache
1、修改php配置文件
配置时我们可以参考xcache的配置模板xcache.ini,此文件位于Xcache安装程序中
# vi /usr/local/php/lib/php.ini
然后添加如下内容
extension_dir=/usr/local/php/include/php/ext

[xcache-common]
extension = xcache.so
[xcache.admin]
xcache.admin.enable_auth = On
xcache.admin.user = "xcache"
xcache.admin.pass = ""

[xcache]
xcache.shm_scheme ="mmap"
xcache.size=60M
xcache.count =1
xcache.slots =8K
xcache.ttl=0
xcache.gc_interval =0
xcache.var_size=4M
xcache.var_count =1
xcache.var_slots =8K
xcache.var_ttl=0
xcache.var_maxttl=0
xcache.var_gc_interval =300
xcache.test =Off
xcache.readonly_protection = On
xcache.mmap_path ="/tmp/xcache"
xcache.coredump_directory =""
xcache.cacher =On
xcache.stat=On
xcache.optimizer =Off

[xcache.coverager]
xcache.coverager =On
xcache.coveragedump_directory =""
2、生成Xcache缓存文件
# touch /tmp/xcache# chmod 777 /tmp/xcache
3、生成Xcache管理员的秘密(MD5密文)
# echo -n "123456" |
md5sume10adc3949ba59abbe56e057f20f883e
然后将上述生成的MD5密文粘贴到php.ini文件中xcache.admin.pass = ""选项,xcache.admin.pass= "e10adc3949ba59abbe56e057f20f883e"
4、拷贝Xcache管理程序到网站根目录下
# cp -a /tmp/xcache-1.3.0/admin//usr/local/nginx/html/
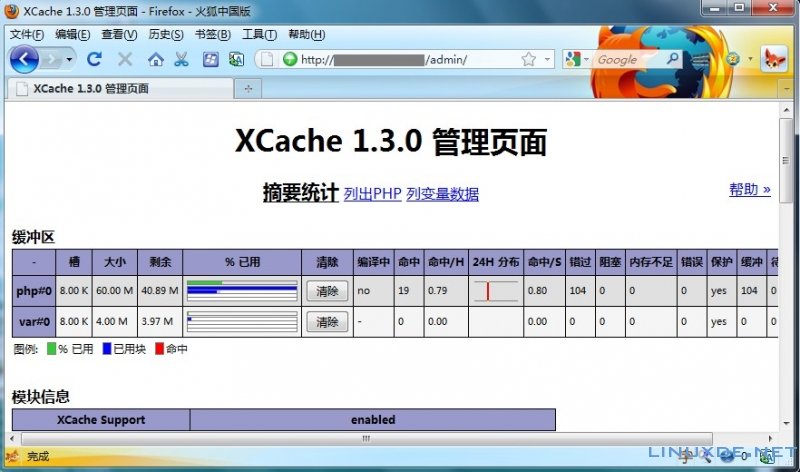
然后重新启动PHP,然后访问http://localhost/admin ,用户名为xcache 密码为123456;另外,还可以通过phpinfo来验证PHP是否支持Xcache
这里要注意的一点就是Xcache只能缓存默认的一些对象,如int, string, array等,不能缓存对象,否则读取的时候就会报错。
如果你非要缓存对象的话也有办法就是将对象序列化,读取的时候再反序列化一次。
下面我写的一个Xcache的简单类:
程序代码
<?php
/**
* Xcache moudle
*/
class cacheHelper{
  public $prefix;
  function __construct(){
    if(!function_exists('xcache_get')){
      exit("This application must required XCache module.");
    }
  }
  /**
   * __set
   *
   * @param mixed $name
   * @param mixed $value
   * @access public
   * @return void
   */
  public function __set($name, $value){
    xcache_set($this->prefix.$name, $value);
  }
  /**
   * __get
   *
   * @param mixed $name
   * @access public
   * @return mixed
   */
  public function __get($name){
    return xcache_get($this->prefix.$name);
  }
  /**
   * __isset
   *
   * @param mixed $name
   * @access public
   * @return bool
   */
  public function __isset($name){
    return xcache_isset($this->prefix.$name);
  }
  /**
   * __unset
   *
   * @param mixed $name
   * @access public
   * @return void
   */
  public function __unset($name){
    xcache_unset($this->prefix.$name);
  }
}
?>
相关文章
PHP中加速、缓存扩展的区别和作用详解(eAccelerator、memcached、xcache、APC )
这篇文章主要介绍了PHP中eAccelerator、memcached、xcache、APC 4个加速、缓存扩展的区别的相关资料,非常不错,具有参考借鉴价值,需要的朋友可以参考下...2016-07-25XCache在Win2003 IIS6下的成功配置方法与疑难解答
XCache是一种新兴的php缓存器,在Windows下优化效率比同类软件强很多。...2016-01-27配置eAccelerator和XCache扩展来加速PHP程序的执行
这篇文章主要介绍了配置eAccelerator和XCache扩展来加速PHP程序的执行的方法,XCache和PHP5.5以来自带的Zend Opcache一样都是在共享内存中存储Opcode的缓存器,需要的朋友可以参考下...2015-12-24- 由于国内网站备案比较麻烦,所以笔者便把网站放到了香港。虽然网站免去了备案的困扰,但是从访问速度上来看,一般要比放于国内的网站慢2-3倍,所以便想办法对网站做了一些简单的优化,比如使用缓存系统来提升网站页面访问速度...2017-04-27
- 这篇文章主要介绍了Centos PHP 扩展Xchche的安装教程的相关资料,非常不错,具有参考借鉴价值,需要的朋友可以参考下...2016-07-25
- 本以为完全解决了论坛速度慢的问题,没想到今晚还是遇到有缓慢的情况,都努力这么久了,我可不愿再看到慢的情况,所以一咬牙又继续想办法去了...2016-01-27
对jquery的ajax进行二次封装以及ajax缓存代理组件:AjaxCache详解
下面小编就为大家带来一篇对jquery的ajax进行二次封装以及ajax缓存代理组件:AjaxCache详解。小编觉得挺不错的,现在分享给大家,也给大家做个参考。一起跟随小编过来看看吧...2016-04-16IIS服务器下安装配置XCache缓存器方法及XCache下载
使用这个加速器可以很大程度的降低CPU占用(但会造成更多的内存占用),并使网页执行时间缩短。具体原理不介绍了,网上有很多...2016-01-27